778-095000-03

Time / Day / Date

About Your Watch

Congratulations on purchasing your TIMEX® watch. Please read these instructions carefully to understand how to operate your Timex timepiece. Your watch may not have all of the features described in this booklet.

For more information, and to register your product, please visit Timex.com.

How to Start Your Watch

To start your watch, remove the plastic guard from under the crown, then press the crown in against the case. The second hand will begin advancing in one-second intervals.

Water and Shock Resistance

If your watch is water-resistant, meter marking (Water resistance wave mark) is indicated.

Water-Resistance Depth p.s.i.a.* Water Pressure Below Surface
30m/98ft60
50m/164ft86
100m/328ft160
200m/656ft284

*pounds per square inch absolute

To Set Time / Day / Date

To Set Time

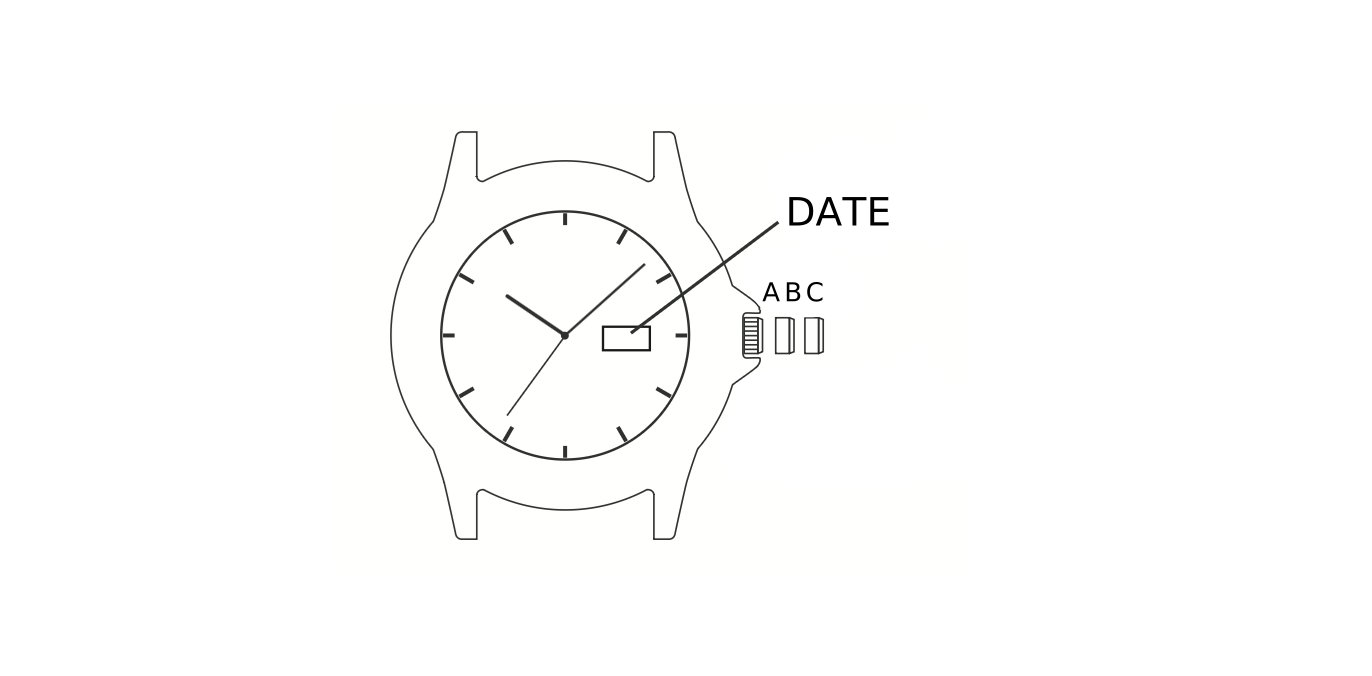
Watch case diagram labeled Date window and Crown Position A, B, C
  1. Pull crown all the way out (Position C) and turn to correct time.
  2. Push crown in to restart. For a screw-in setting crown, push crown in while turning clockwise to tighten.

To Set Day

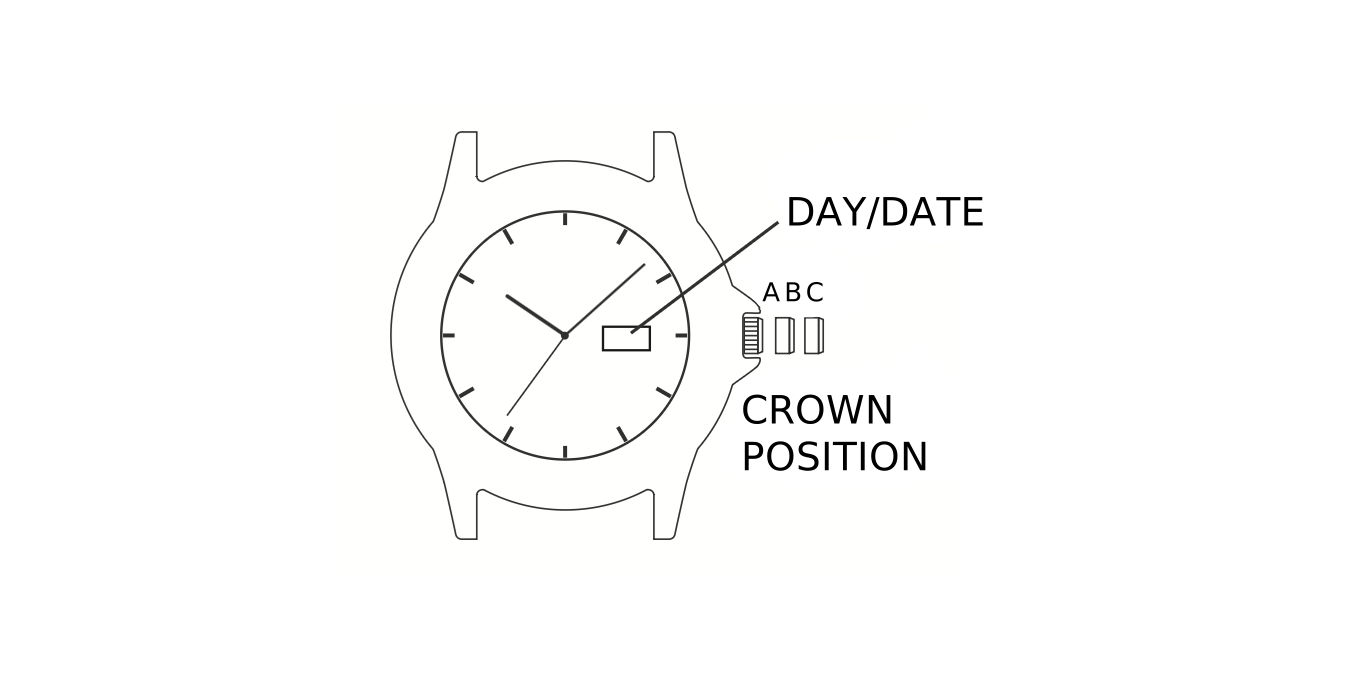
Watch case diagram labeled Day/Date window and Crown Position A, B, C
  1. Pull crown to the “middle” position (Position B) and turn clockwise until the correct day appears.
  2. If the day does not change, pull crown to the “out” position (Position C) and turn clockwise or counterclockwise through the necessary number of 24-hour periods until the correct day appears.

To Set Quick Date® Feature

3-Position Crown

  1. Pull crown to the “middle” position (Position B) and turn clockwise or counterclockwise until the correct date appears.

2-Position Crown

  1. Pull crown to the “out” position and turn clockwise until the date changes. Repeat until the correct date appears. Adjust date when the month has fewer than 31 days. Push crown in when finished.

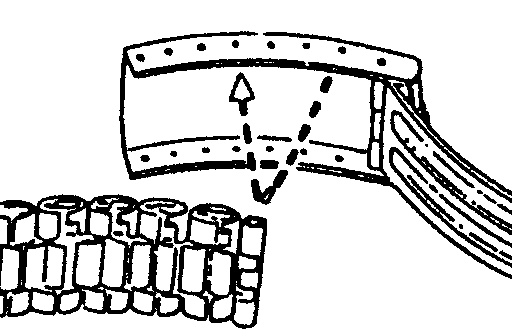
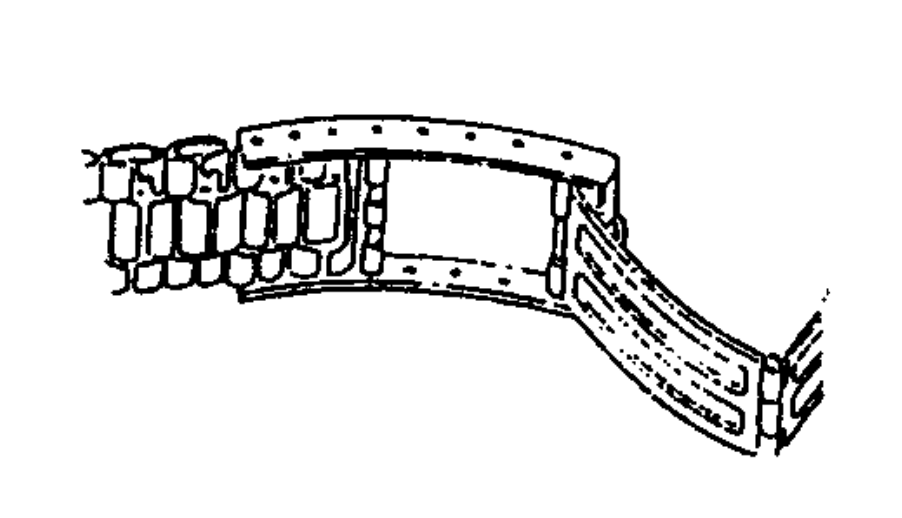
How to Adjust Bracelet

Variations of the following bracelet sections apply to all watch models.

Sliding Clasp Bracelet

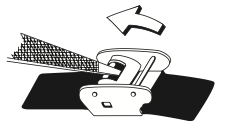
Locking plate on sliding clasp bracelet being opened with a pointed tool
  1. Open locking plate.
  2. Move clasp to desired bracelet length.
  3. Exert pressure while holding locking plate and slide clasp back and forth until it engages in grooves on underside of bracelet.
  4. Press locking plate down until it snaps closed. Clasp can be damaged if excessive force is used.

Foldover Clasp Bracelet

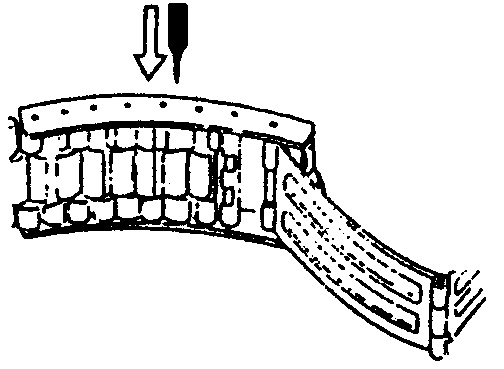
Pointed tool pushing in the spring bar to disengage the foldover clasp bracelet
Fig. 1.
Spring bar being aligned with the correct hole in the bracelet band
Fig. 2.
Foldover clasp bracelet fully closed and locked in place after release
Fig. 3.
  1. Find spring bar that connects bracelet to clasp.
  2. Using a pointed tool, push in spring bar and gently twist bracelet to disengage.
  3. Determine wrist size, then insert spring bar in correct bottom hole.
  4. Push down on spring bar, align with top hole and release to lock in place.

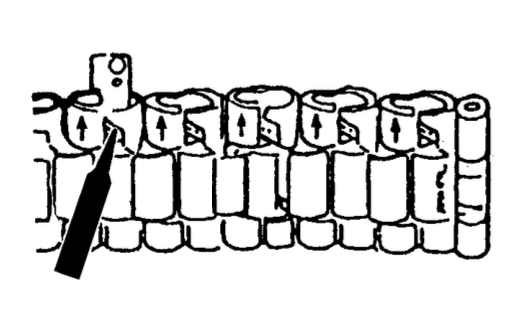
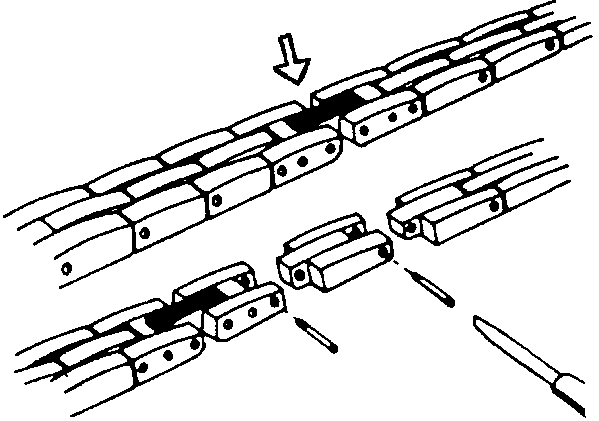
Re-Assembly

Bracelet link pin being pushed back in the opposite direction and pressed flush into the bracelet
  1. Rejoin bracelet parts.
  2. Push pin back into link in opposite direction of arrow.
  3. Press pin down securely into bracelet until it is flush.

Battery

The watch button cell or coin battery is not intended to be replaced by a consumer. Only a jeweler or other professional is to replace the battery.